- 1
 Create a new image: 1024×1024px. Don’t be afraid – the splash screen will be cropped later
 - 2
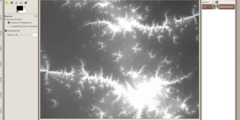 To create really varied light and dark parts in the image we’re gonna use a combination of clouds and fractals.tip: Fractals are objects that are repeated in itself. If you zoom into a fractal the same part is viewed again, and again – infinite repeats. To create a fractal in GIMP you can use the built-in fractal explorer.
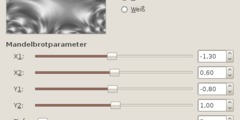
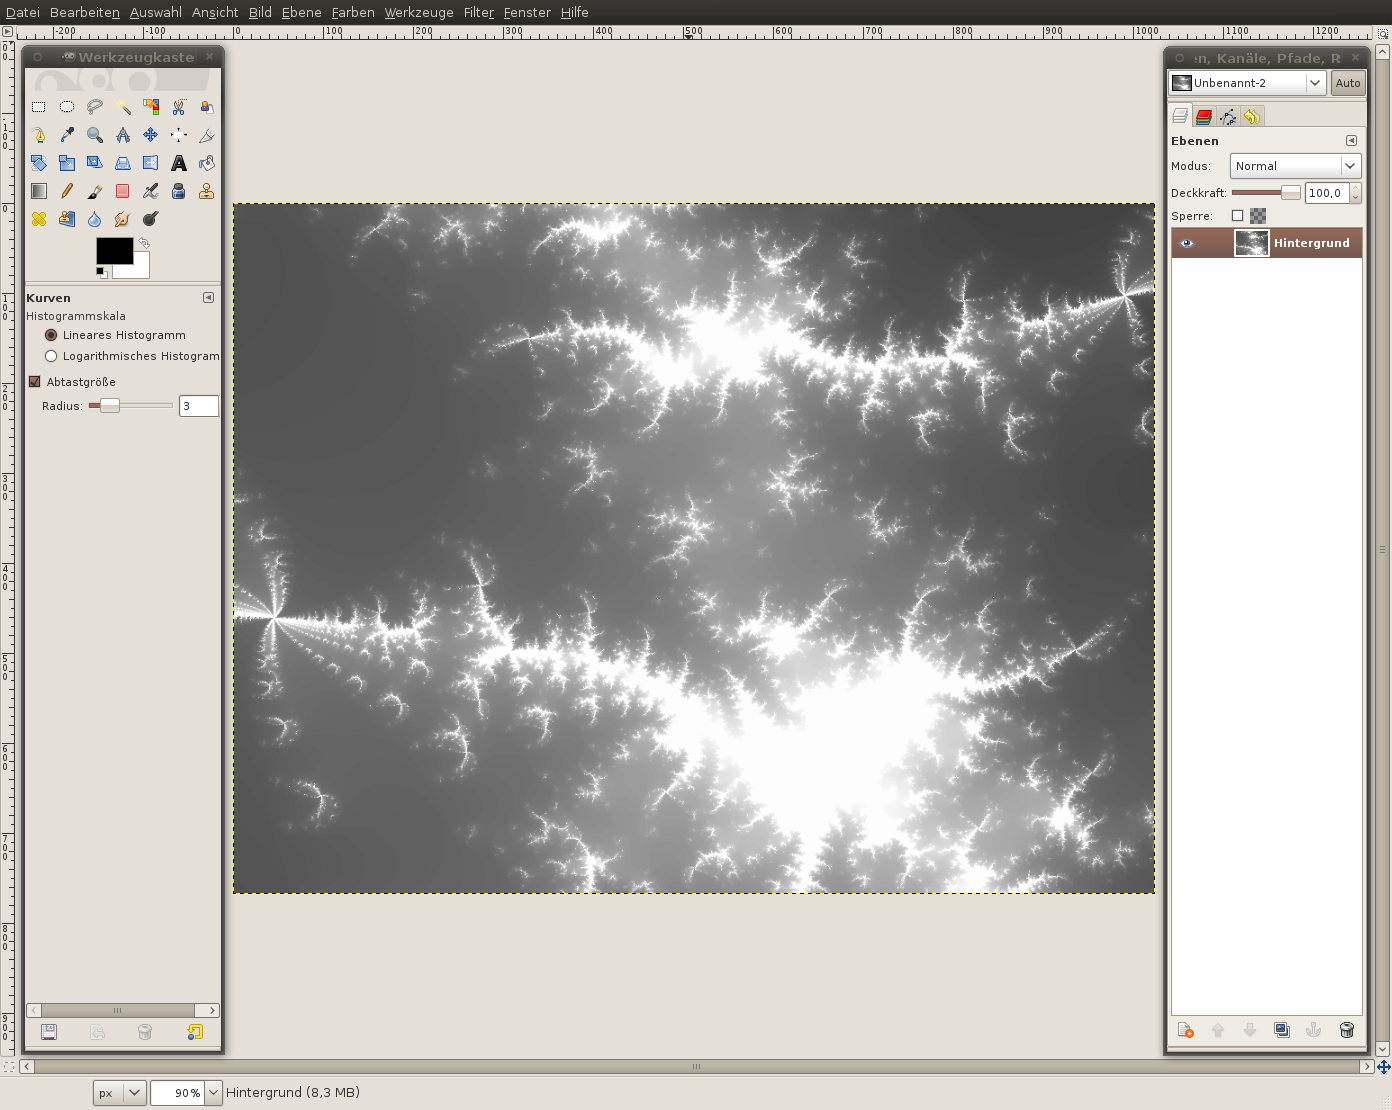
- Filter / Render / Fractal explorer
Leave the settings as they are. Otherwise – if you clicked something – press the reset button.
Activate the “Fractals” tab. Select “Explosive” and press accept - 3
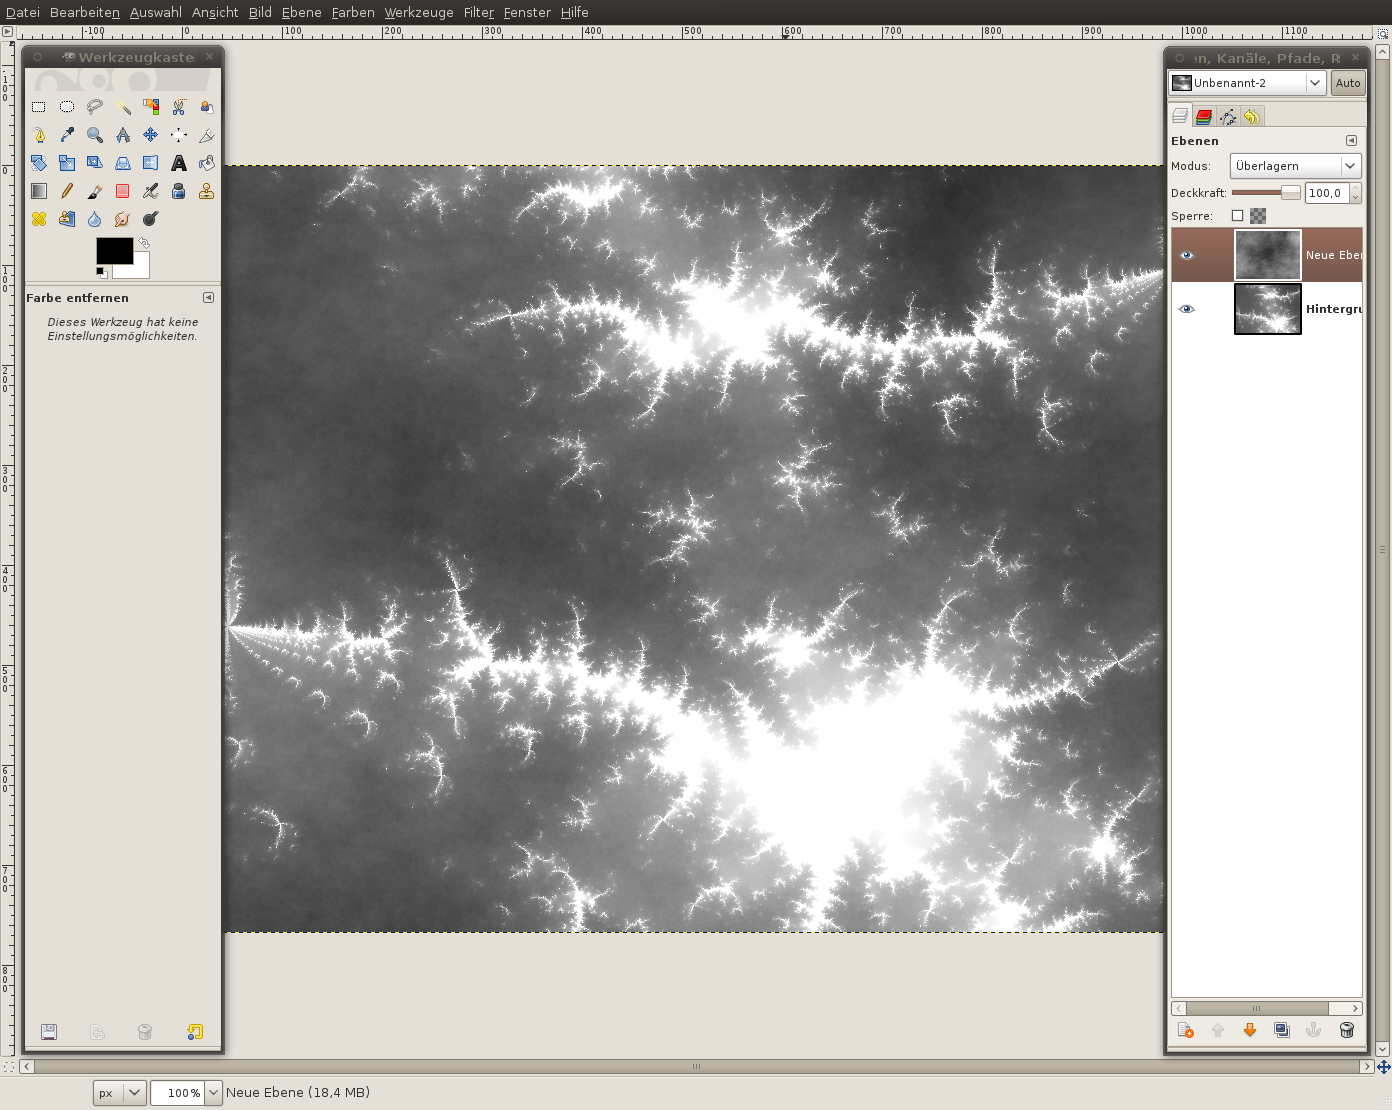
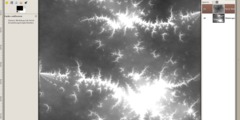 - Create a new layer
- Filter / Render / Clouds / Plasma – use the preset settings and press OK
- Colors / Desaturate: Brightness. Press OK
- Set the layers mode to “Overlay”. (The layers mode drop down is found in the layers dialog above the opacity ruler. - 4
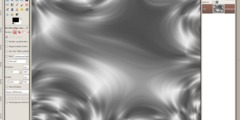
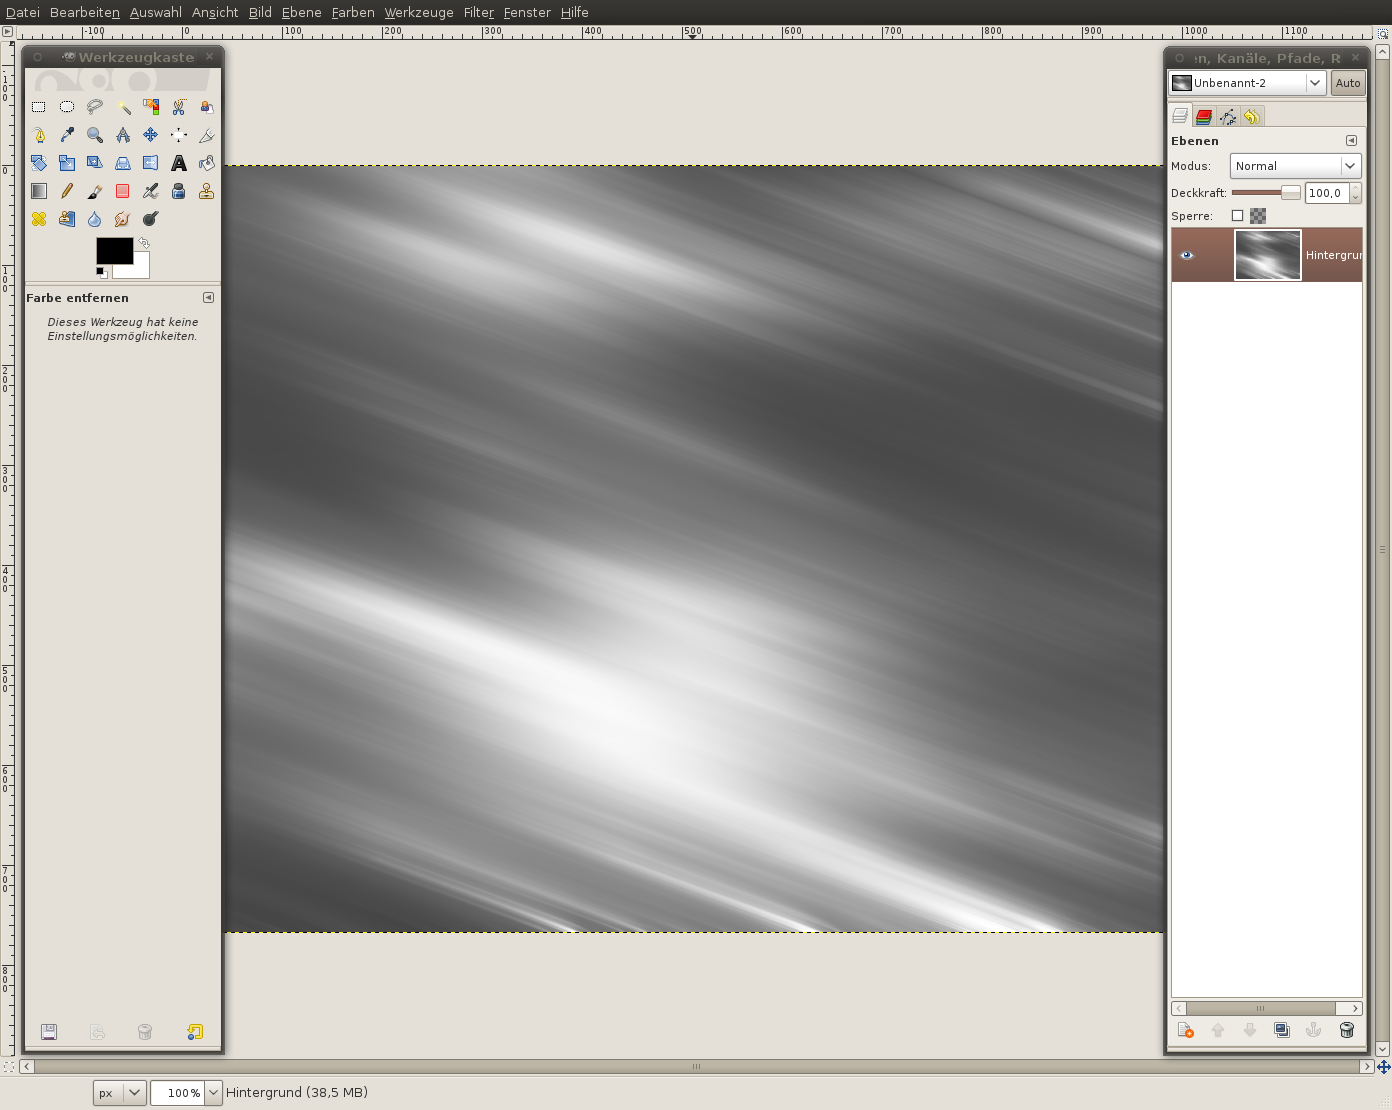
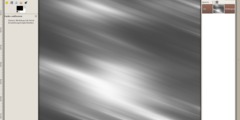 - Press CTRL+M to merge the visible layers into one layer.- Filter /Blur / Motion Blur: 200 / 20. After that repeat the filter by pressing just CTRL+F
 - 5
 - Filter / Map / Make Seamless. Doing this makes it possible to put copies of the image to the right/left/top/bottom without seeing any border. You can create seamless transitions with it. That is needed for the next step.
 - 6
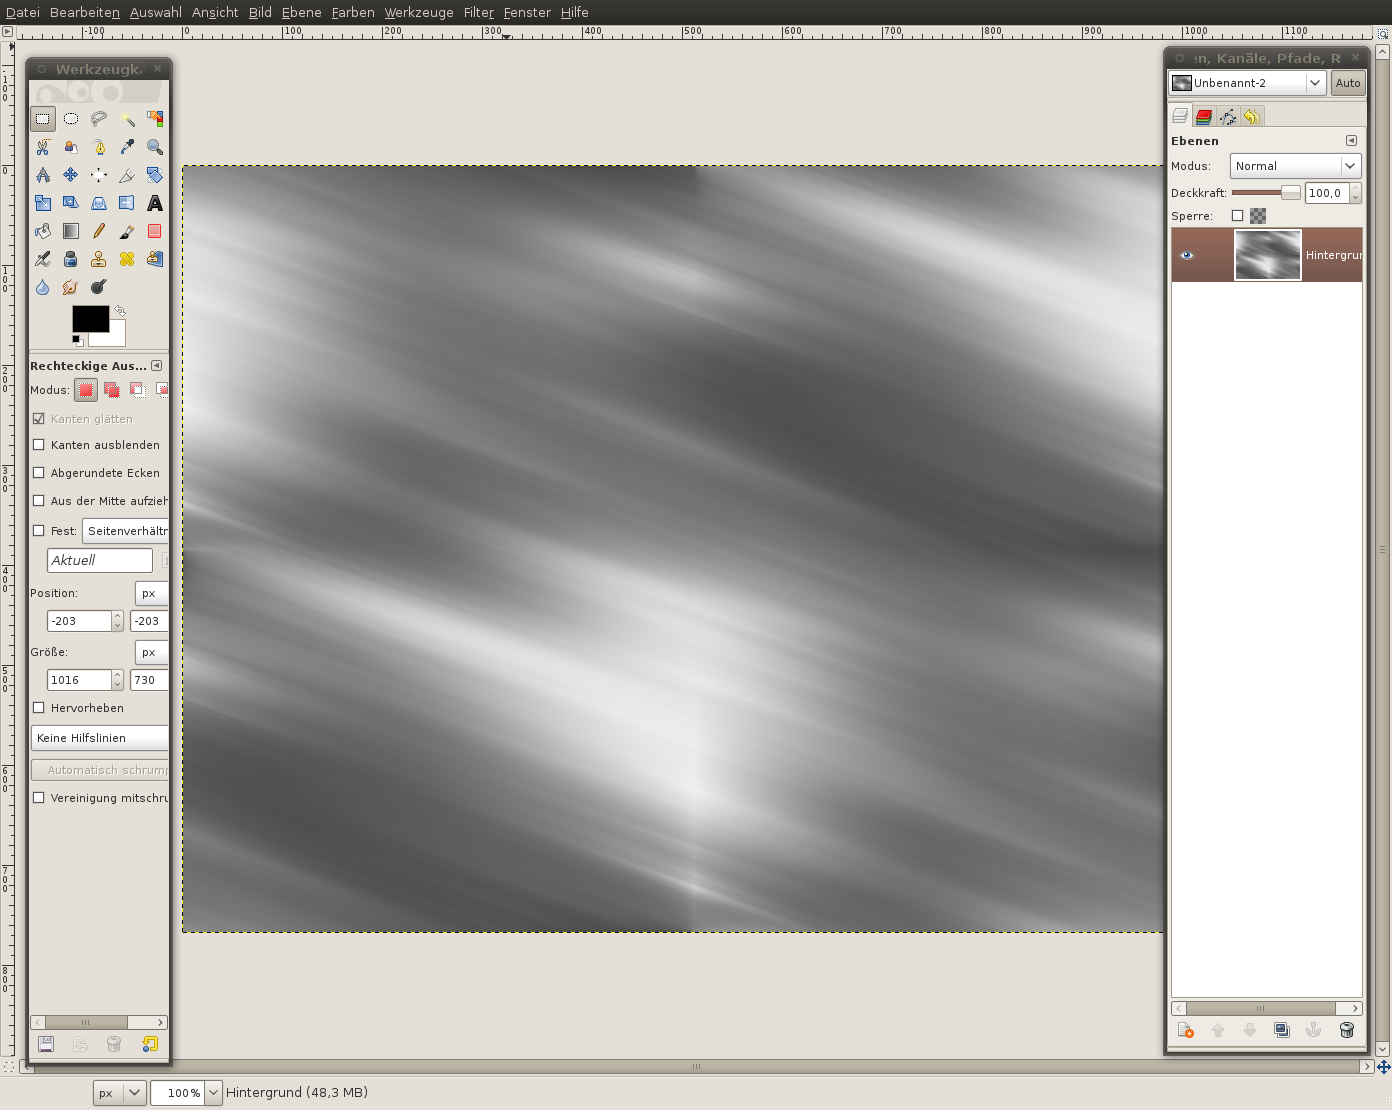
 In this step our main goal is to get nice and smooth waves into the image.We’re going to transform our picture into a fractal now. Doing this will make your picture look evenly distorted and nice waves will be created. Tip: Before I told you how you can imagine a fractal in a good way (in the graphics environment). That a part can be repeated nicely we’ve just used the seamless-filter. And that is why we can easily transform our pic into a repeated fractal now.
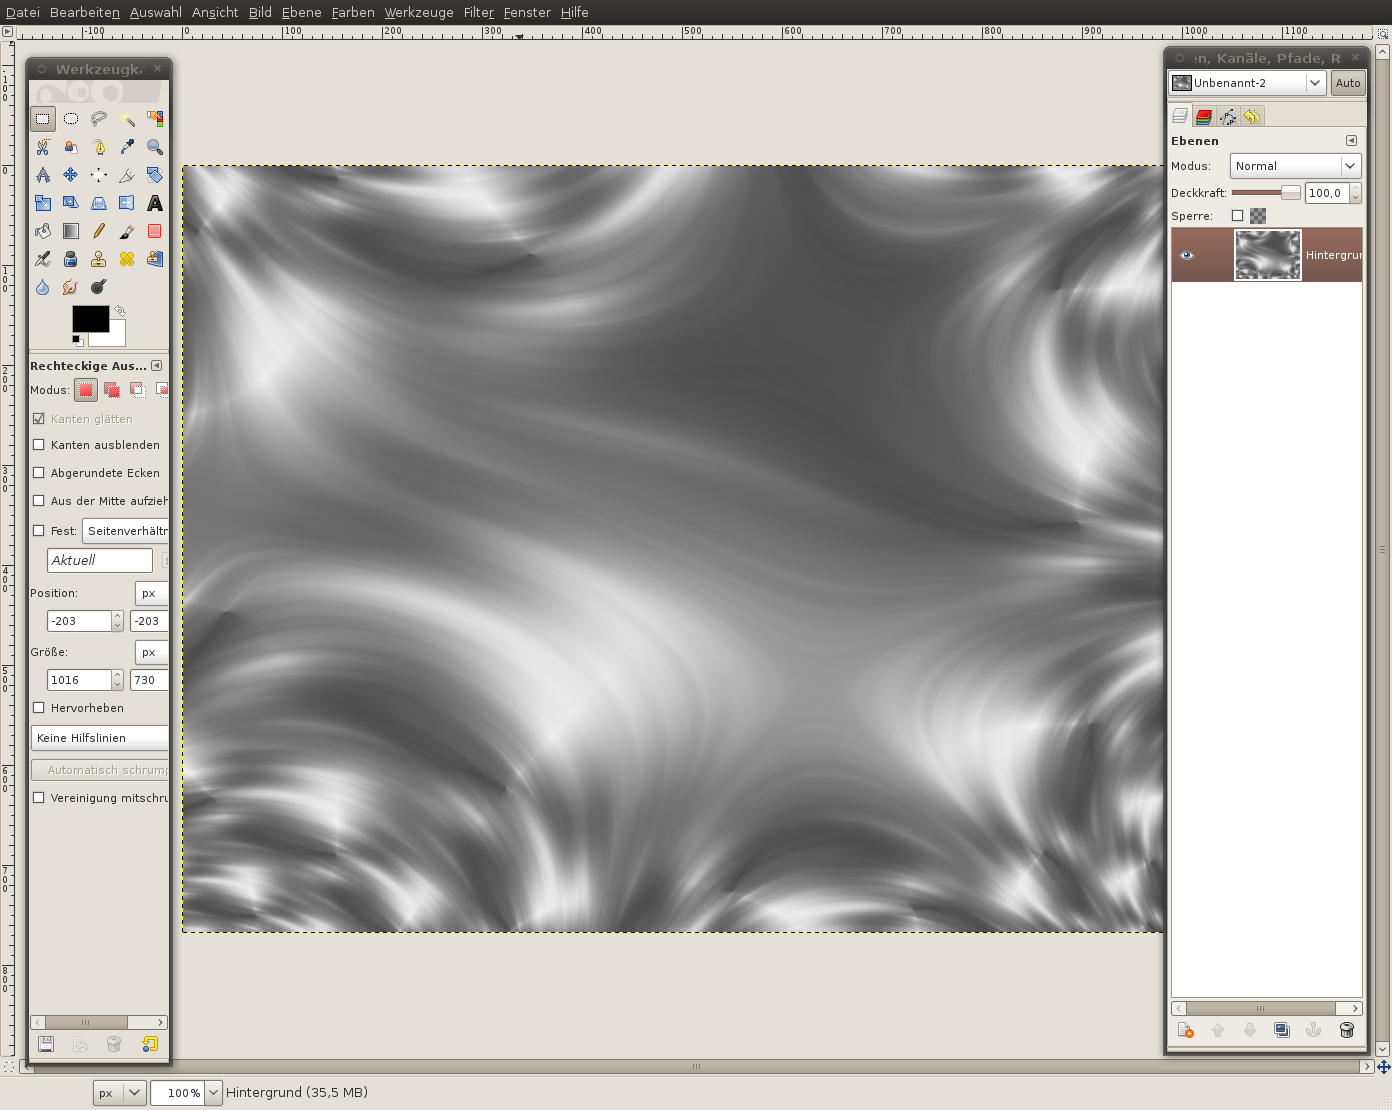
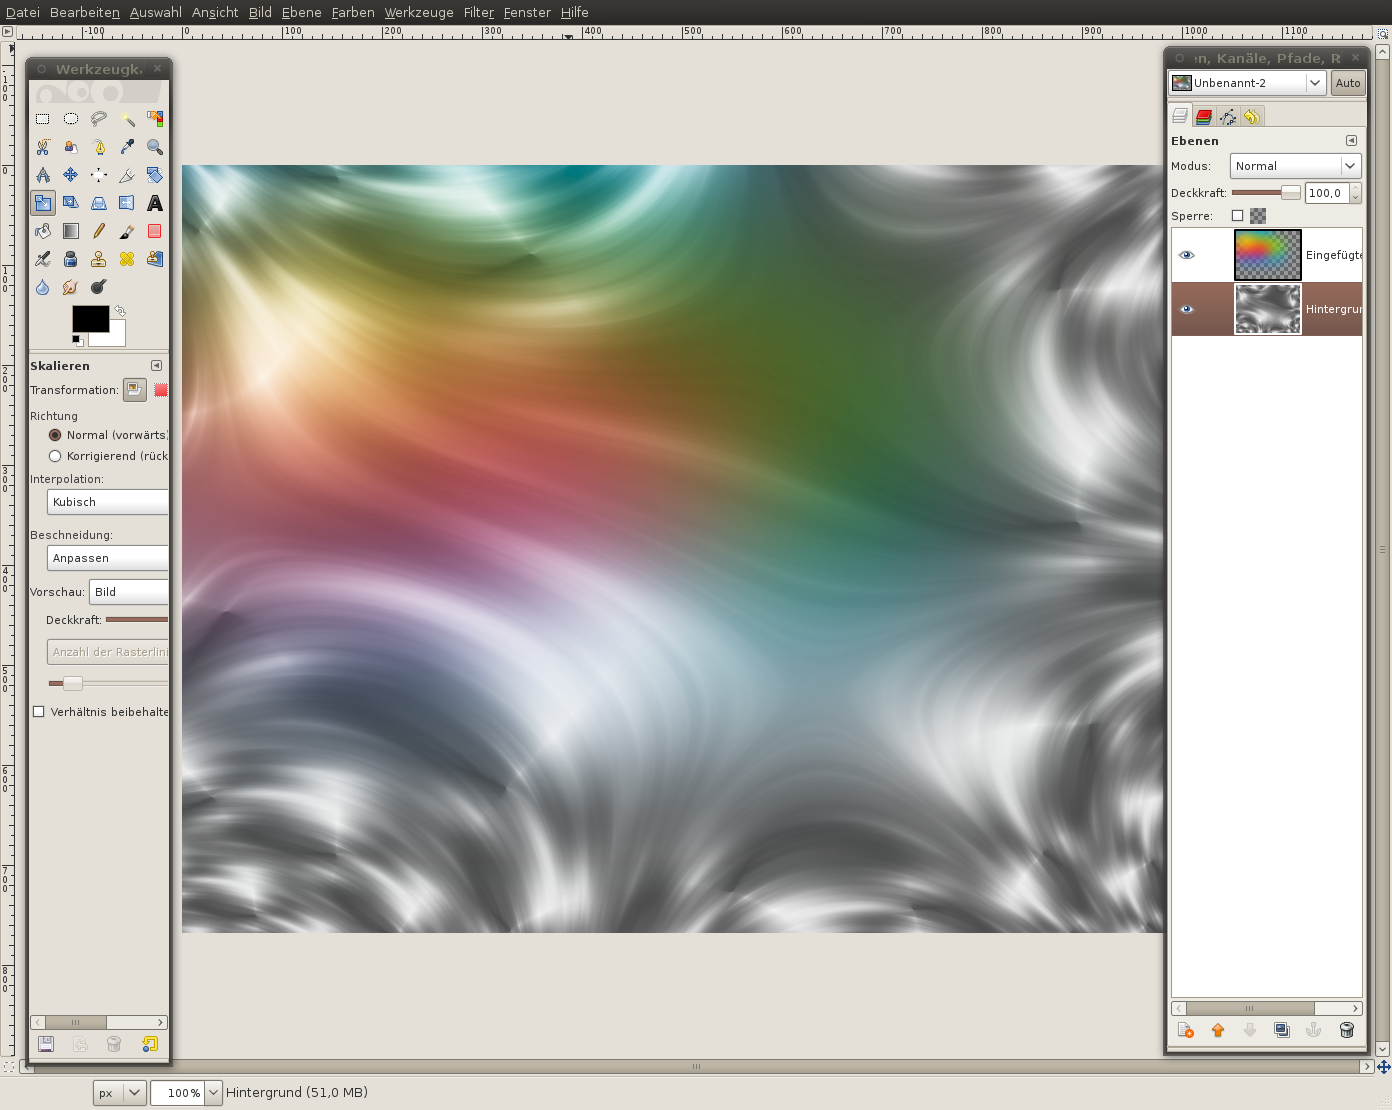
- Filter / Map / Fractal Trace (Use the Values of the picture below) - 7
 Now we got some really smooth waves. So it is now time to get some color into our image.
 - 8
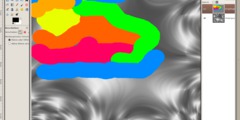 To get smooth colors that flow together we will first paint some color on the canvas and blur these colors afterwards.- Create a new and transparet layer
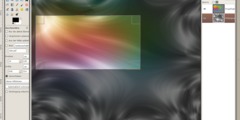
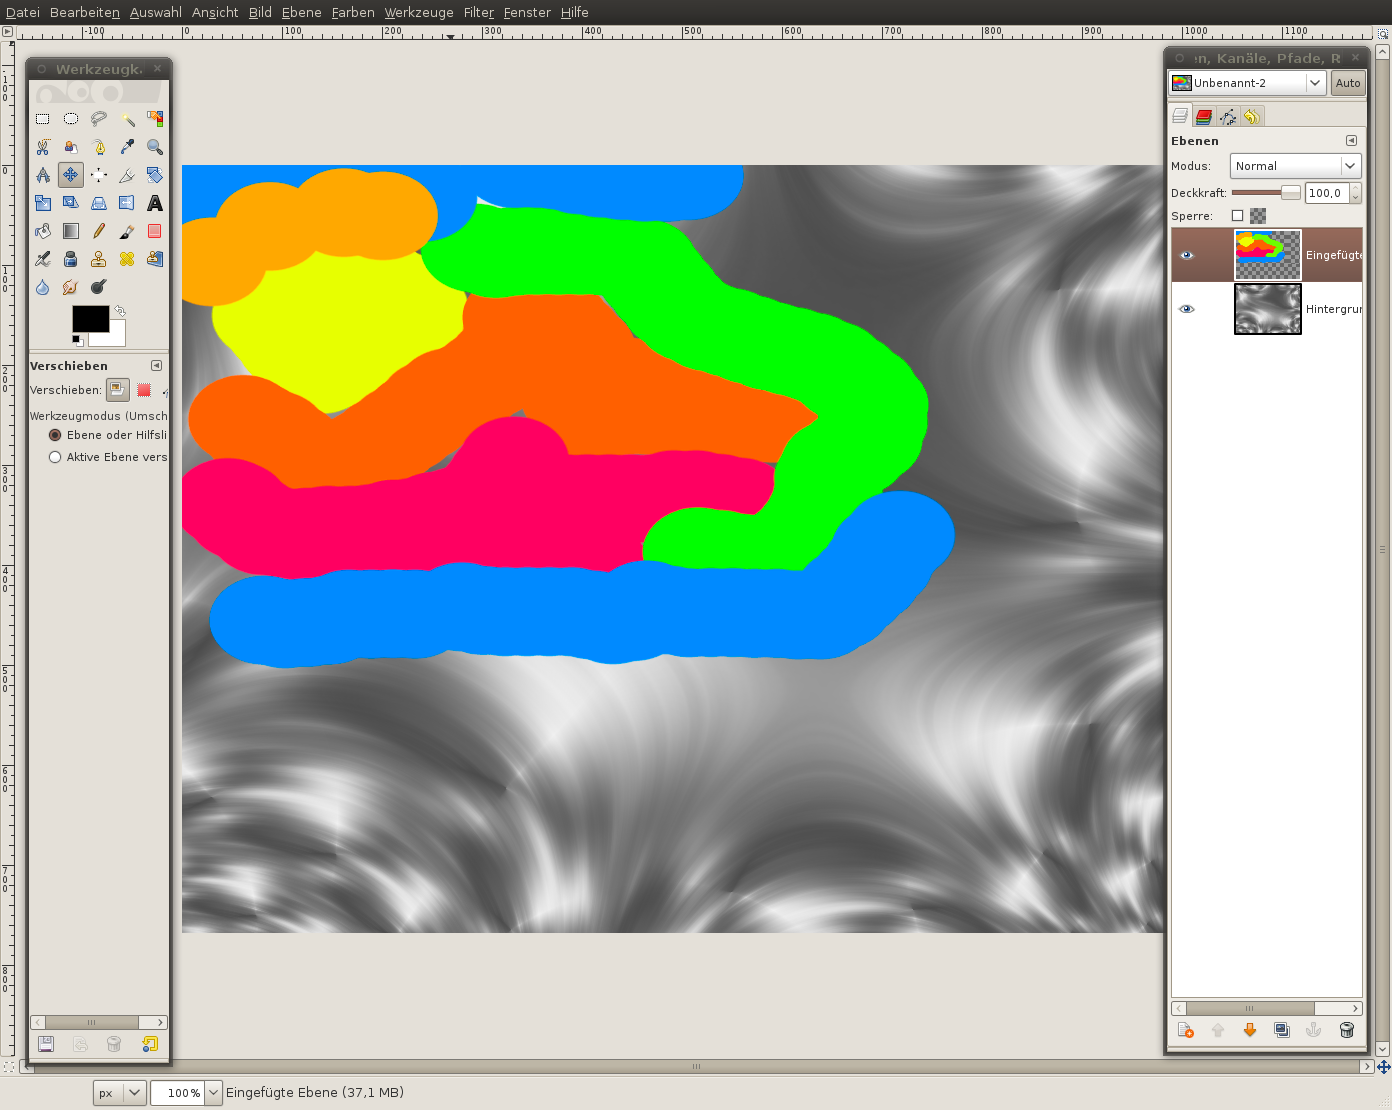
- ue the brush tool. choose a big brush size (scale it to 10,0). Paint some big yellow-orangy dots. Then use another color like orange or red, paint close by the first yellow dots. Paint the yellow on the lighter parts of the background layer. - 9
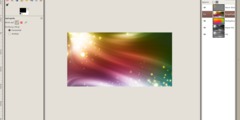
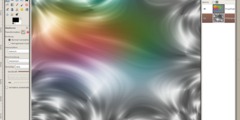 - Filter / Blur / Gaussian Blur: 300px.Set the layers mode to “Overlay”. The yellow part should glare/shine a bit already. Don’t worry – this will be enhanced soon.
 - 10
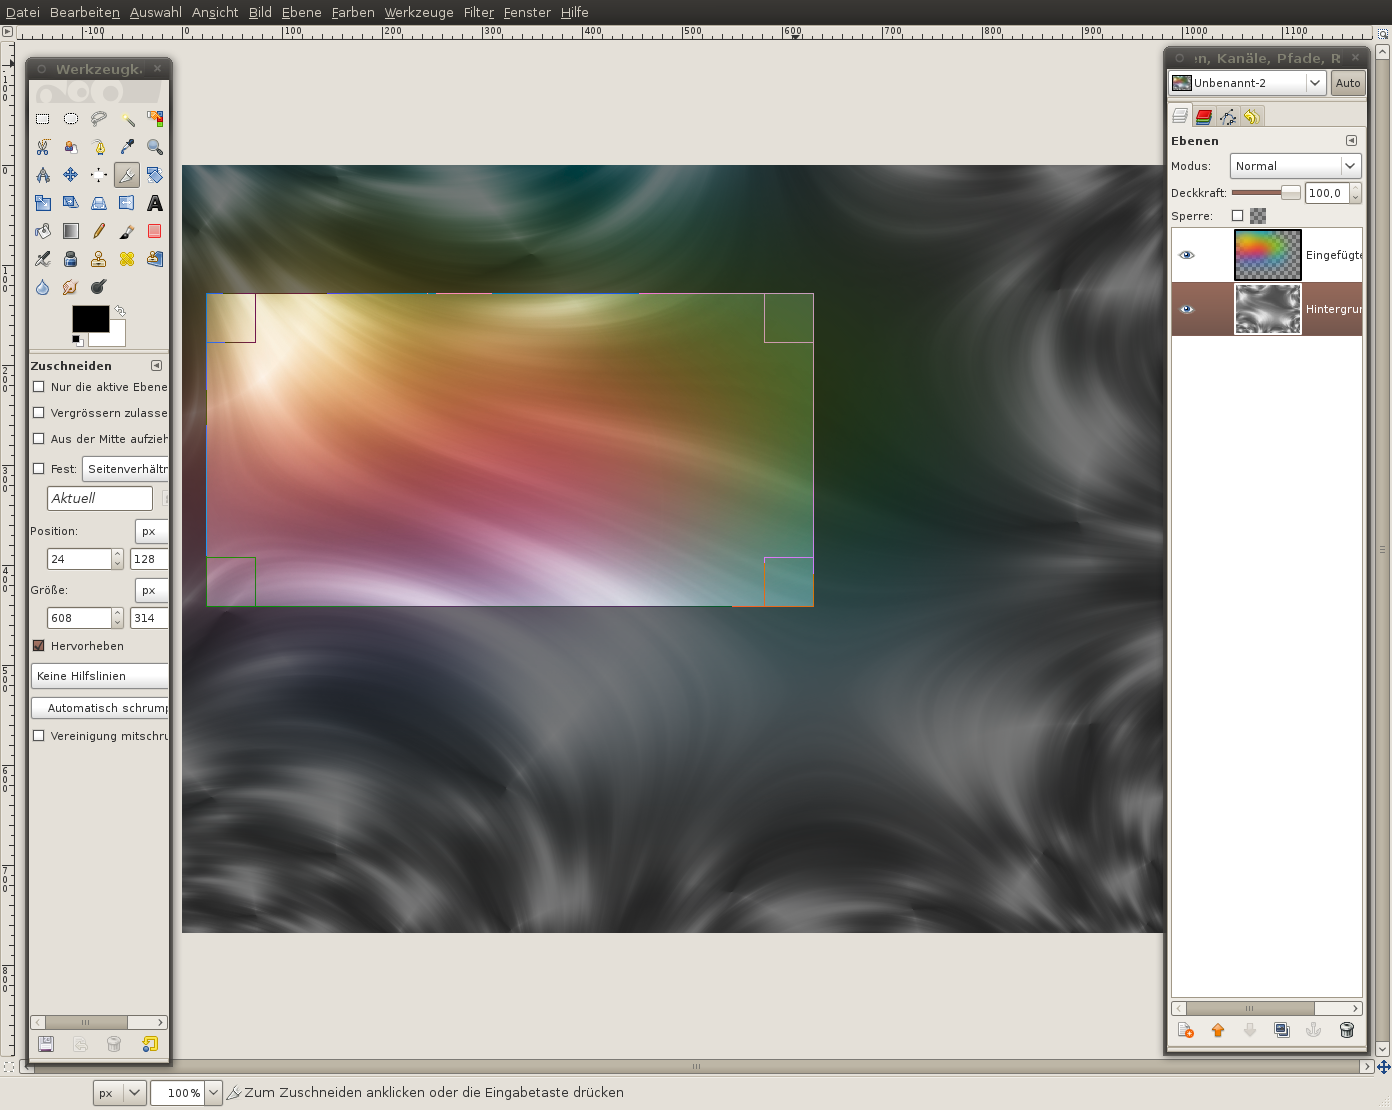
 - Press SHIFT+C to use the Crop tool.
- Choose any part ofthe picture but the upper left part is pretty nice I think. (Tip: You can transform the background layer, or flip it, rotate it… whatever you want until you found a nice part to cut out.) - I draw a selection that includes also some small parts ofthe blue/green color. - 11
 - Duplicate the background layer.
- Move the copy between the colors layer and the original background (if it is not automatically there)
- Set the layers mode to “Overlay”.
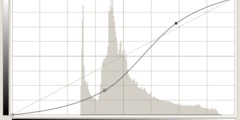
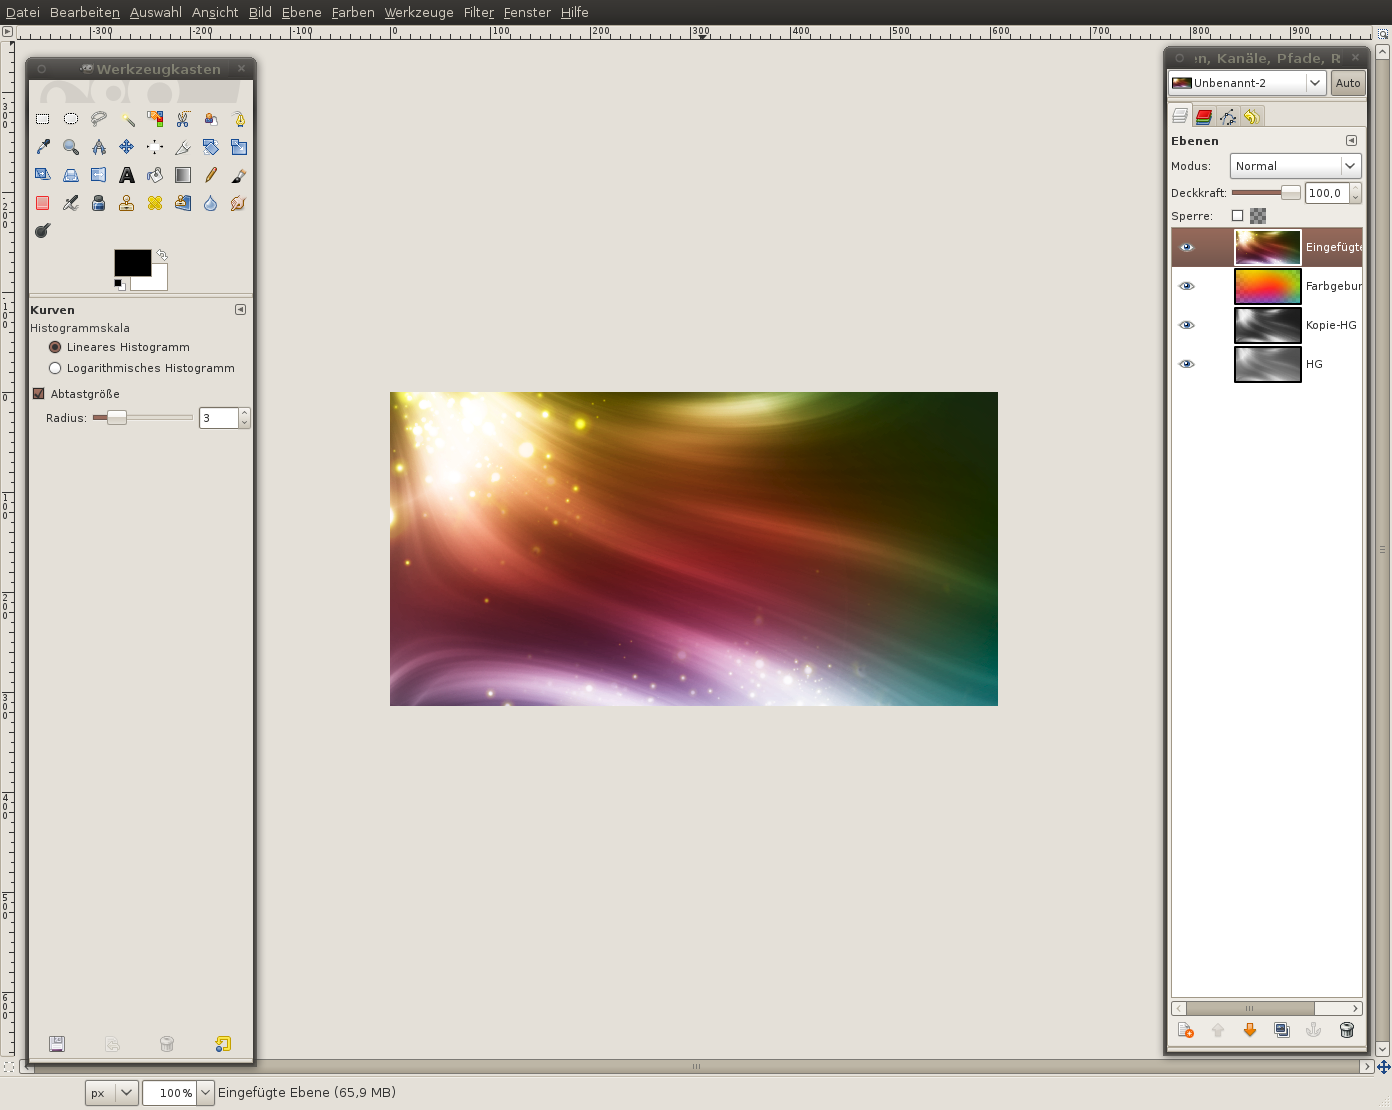
- Colors / Curves: Apply this curve: - 12
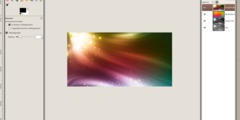
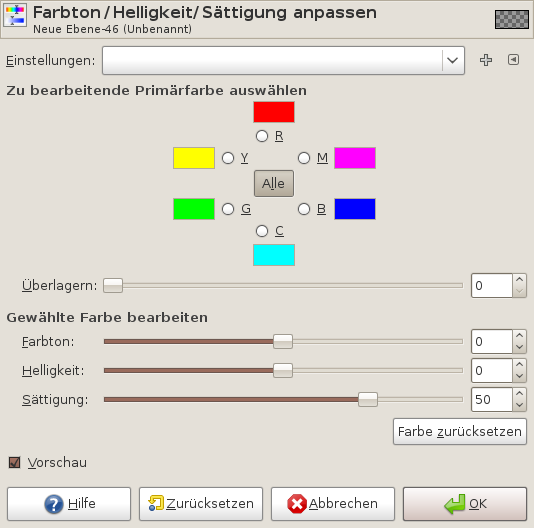
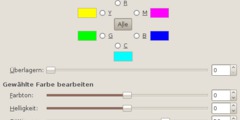 - Activate the colors layer: Colors / Hue-Saturate: Move the saturation ruler to +50.
 - 13
 We’re pretty finished already and we want to continue working on a copy of the current state of our image.To do this:
- Edit / Copy visible
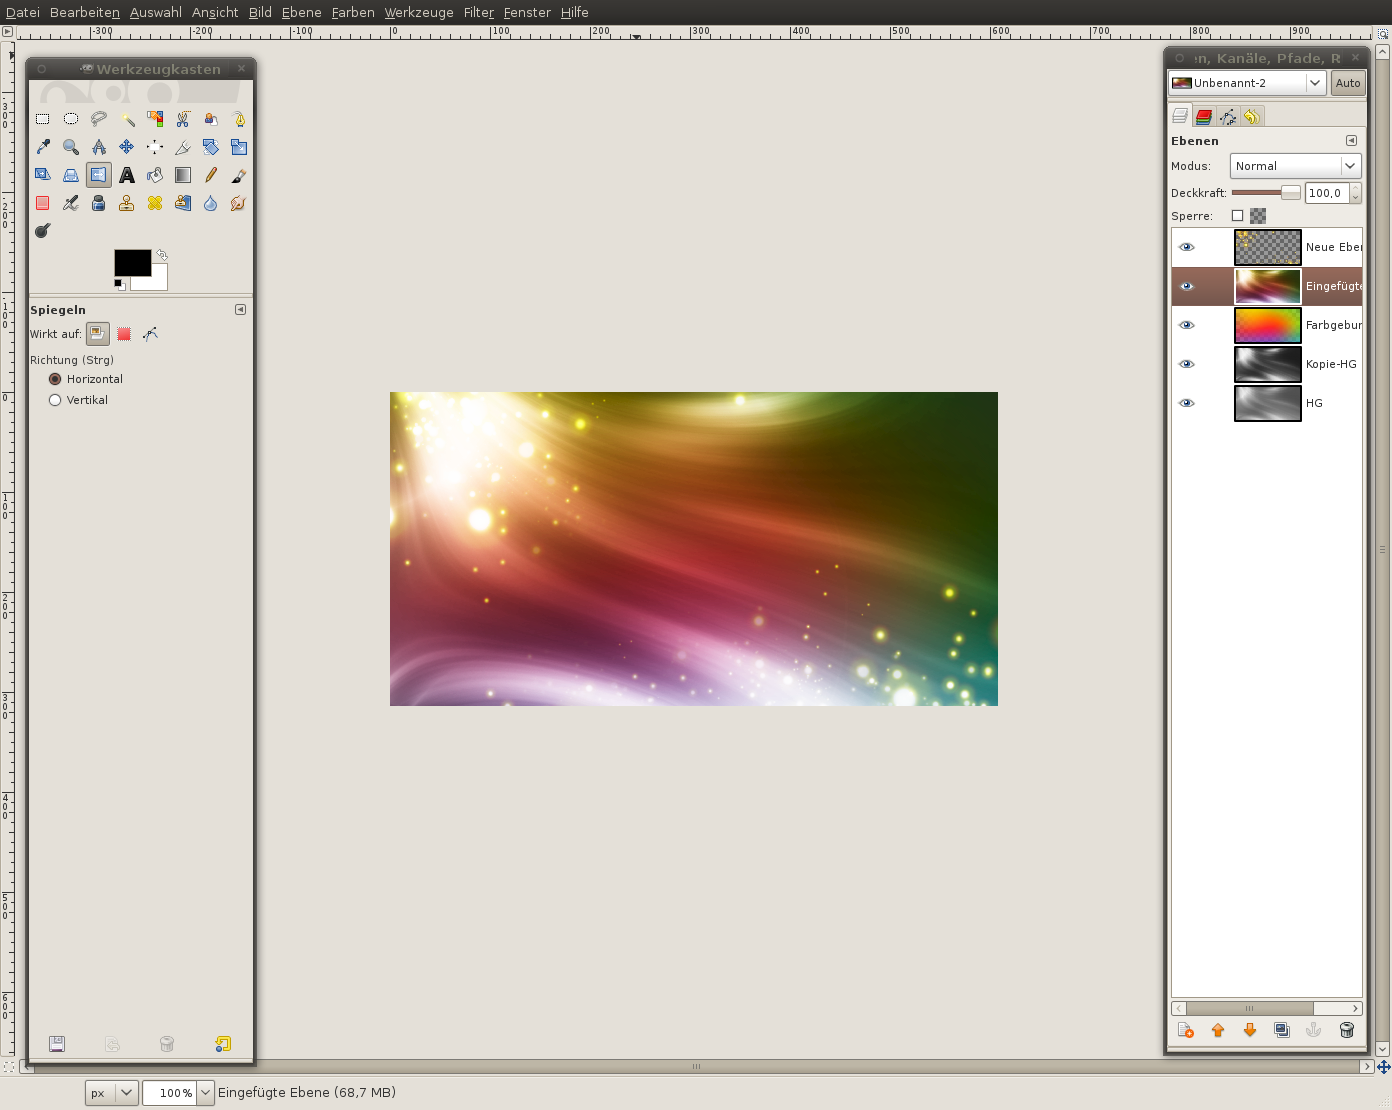
- Edit / Paste as new layer - 14
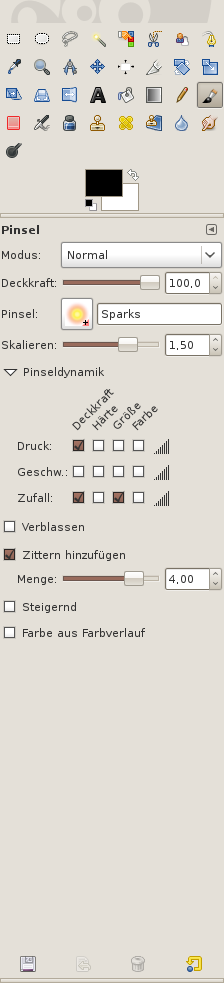
 Now we get to the particles part. We would like to create the illusion of many lightning particles on the brighter parts of the picture.Best used for this is the sparks brush. - Choose the brush tool. Select the yellow “sparks” brush. Excellent for this are the new brush dynamics (available since GIMP 2.6). Using them you can adjust size, opacity and randomness of the pained brush.
See the image for more detail: Make a selection at “Pressure/Opacity”, Random/OPacity and Random/Size.
Scale: 1,5
Jitter: 4,0 - 15
 - Create a new layer and paint the “particles” in the upper left part of the image and also on some other bright parts (as you like it)- Set the layers mode to “Dodge”. Doing that the Shining/Glowing will be enhanced.
 - 16
 - In the layers dialog rightclick the particle layer and click “merge down”. the particles are then copied to the layer below.Darken the image if you enjoy more contrast/color images, use Color / Curves for that.
 - 17
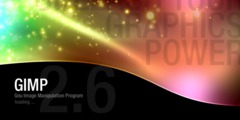
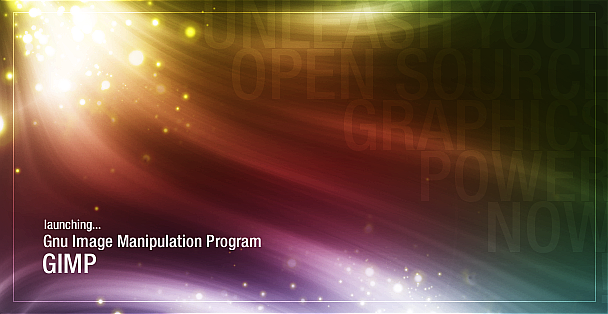
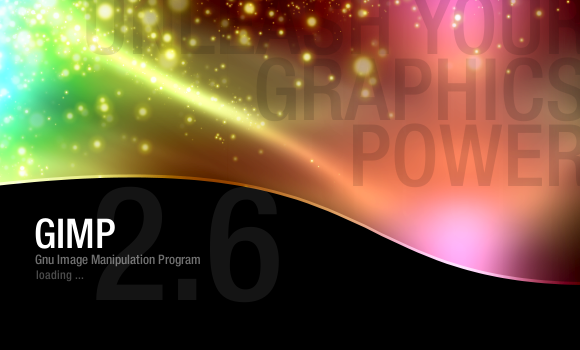
 That the splash screen looks like a real splash screen we have to add some text now.Use the text tool and write “UNLEASH YOUR
OPEN SOURCE
GRAPHICS
POWER
NOW!”
on a new layer. Change the alignment of the text to right and set a line spacing so that the lines have only a very small space left between them. Set the transparency of the layer to 10% and move the text to the right.
See my image below for the other text alignements. it should be easy to do this =) - 18
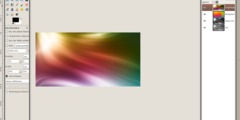
 here is another version:
 - 19
 And this one is my first version which I also created using this thechnique!Hope you enjoy the splash screens
 - by service
วันพุธที่ 17 พฤศจิกายน พ.ศ. 2553
Create a colorfull stream of light with particles in GIMP


สมัครสมาชิก:
ส่งความคิดเห็น (Atom)
ไม่มีความคิดเห็น:
แสดงความคิดเห็น